This week during our educational futures seminar we were looking at
different types of non-camera made animations and how they manage to make an
image move. We looked at different methods such as: Thaumatropes,
Phenakistoscopes, flipbooks, etc.
We all then got assigned a type of non-camera made animation, and got
set a task to make one for ourselves. I got assigned the Thaumatrope. These are
the steps in which I went through to make my Thaumatrope.
Step 1...
 |
You will need to collect all these different bits of equipment, as you will need them to create your Thaumatrope |
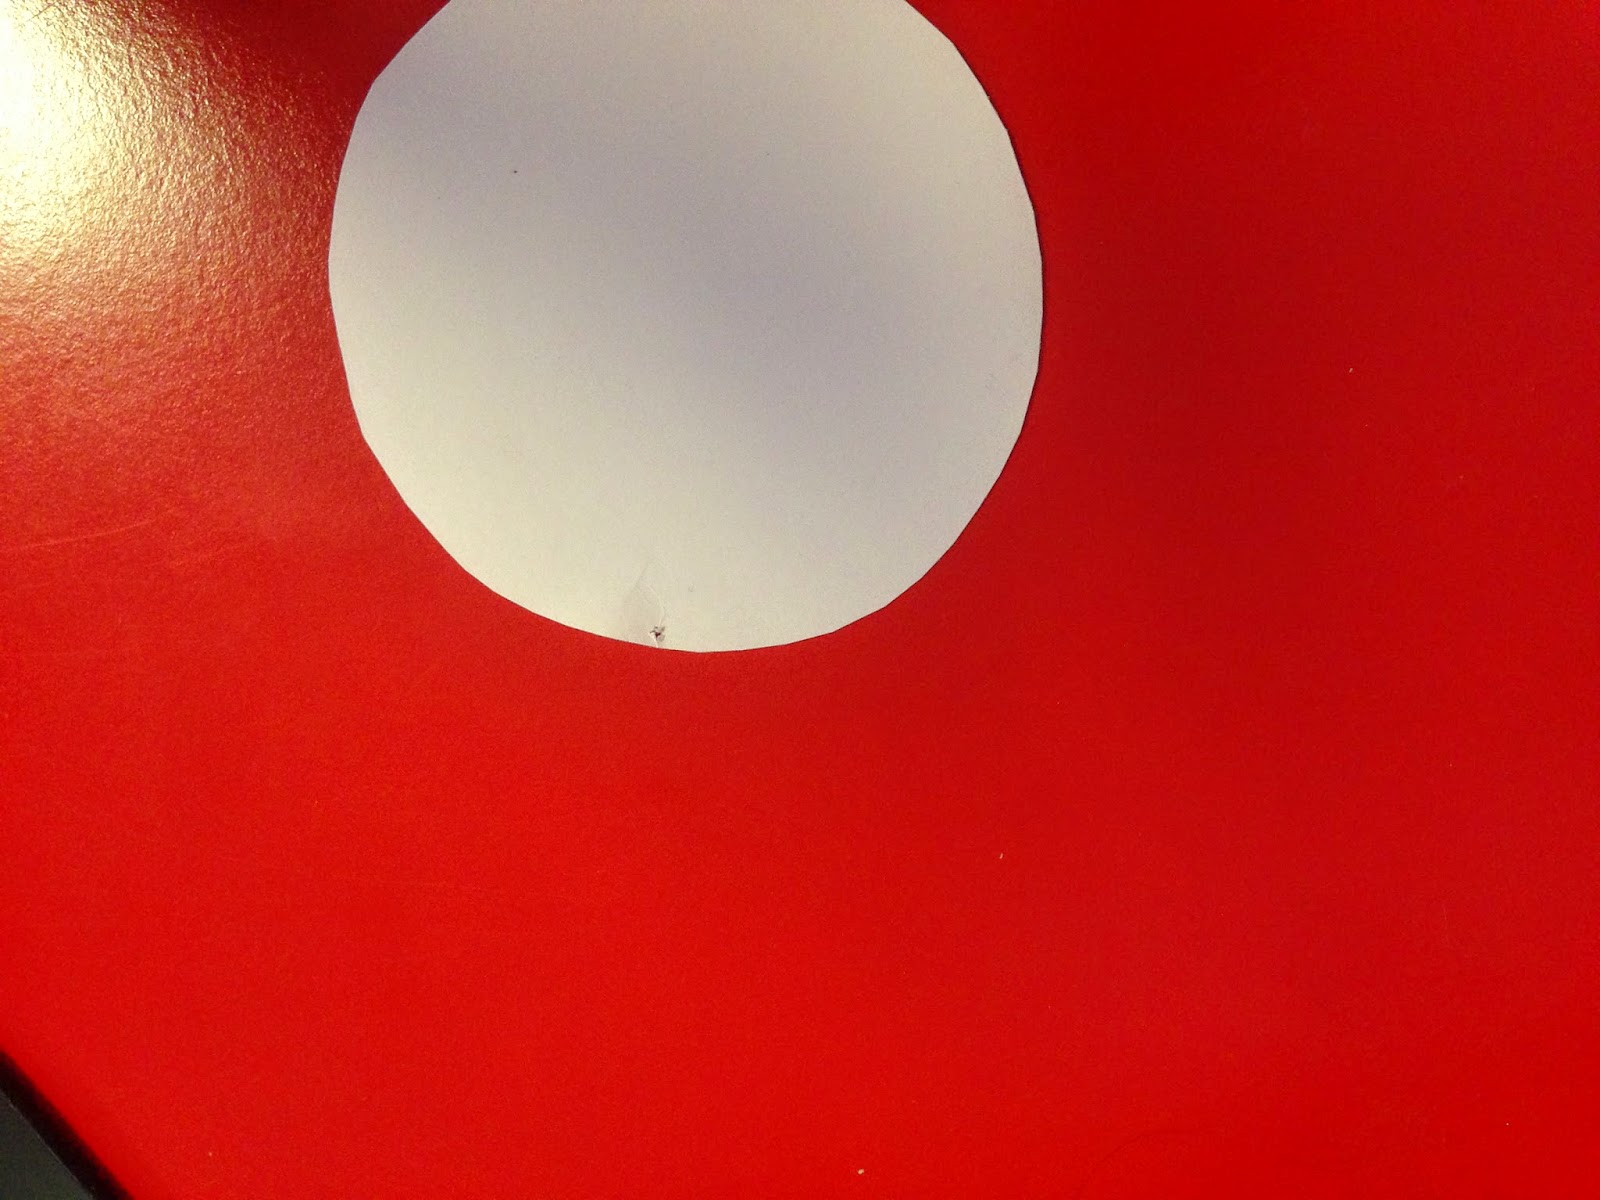 |
The first thing you will need to do is (using your scissors) cut your piece of paper into a circular shape like so. |
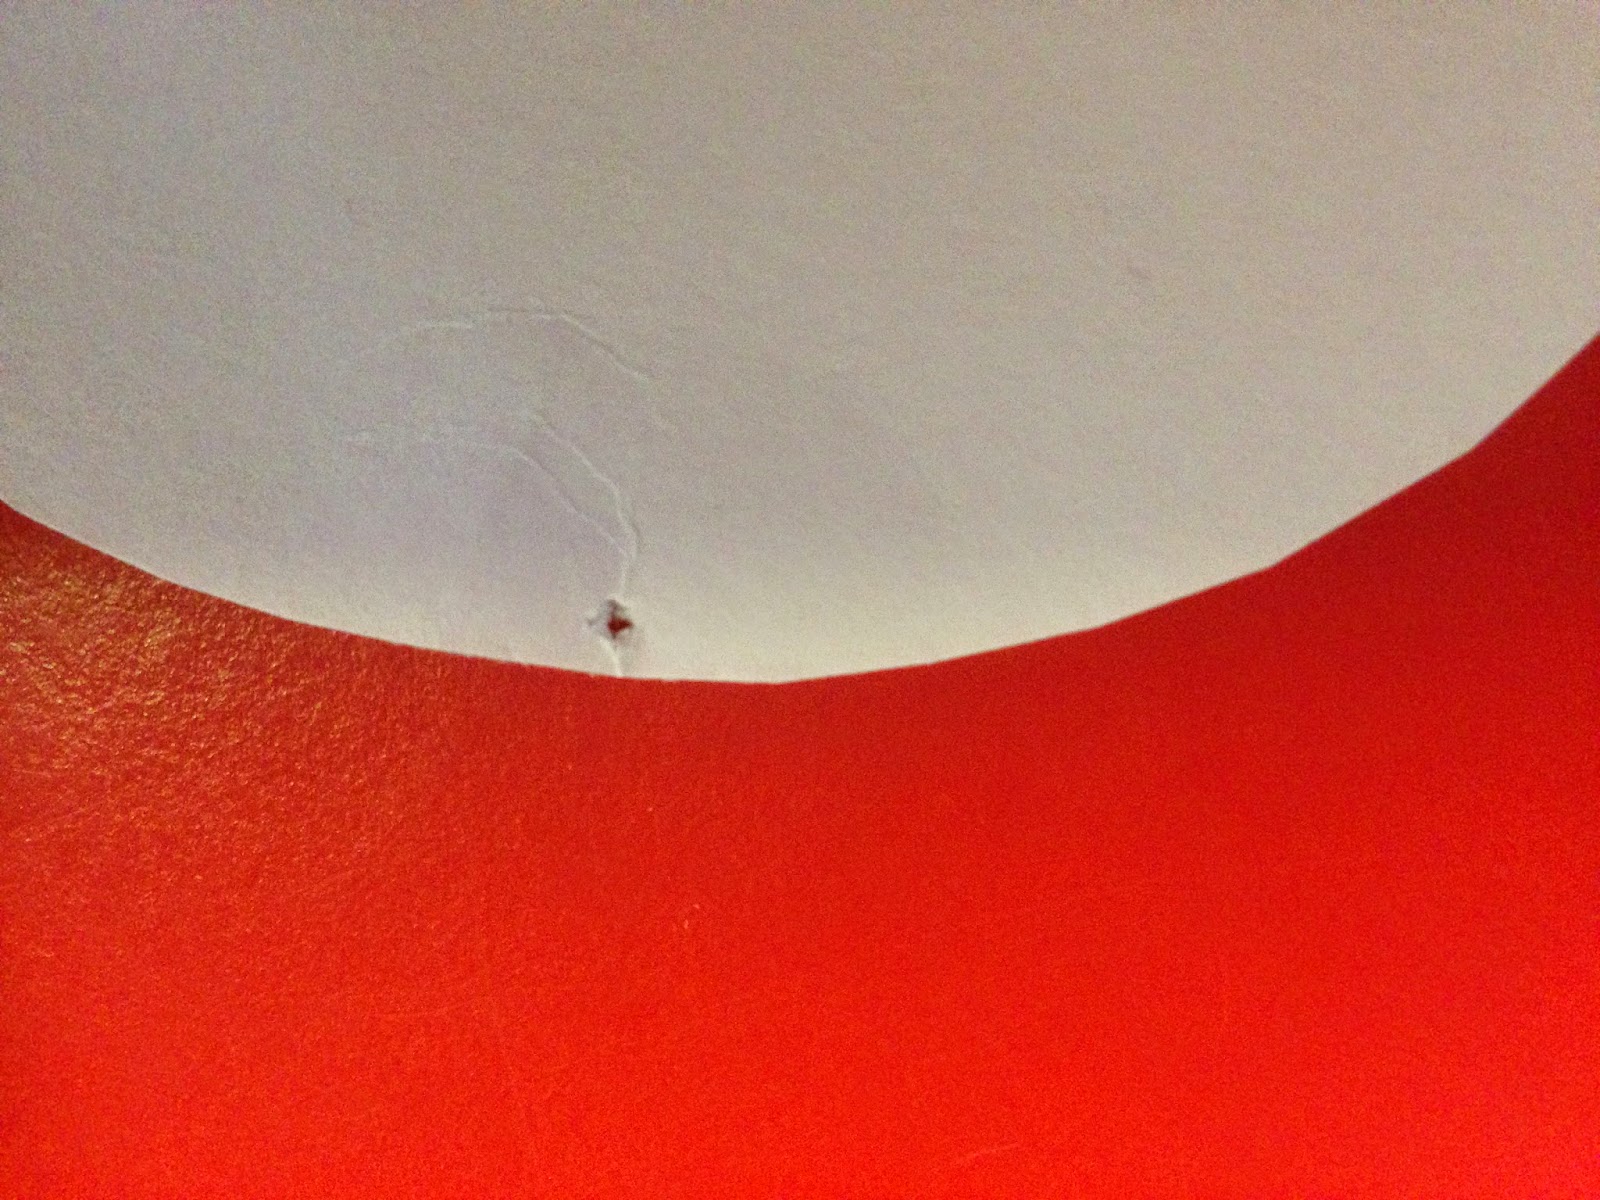 |
The next thing is (using your pin, or another sharp object) make a small hole in 2 sides of your circle (these must be symmetrical to eachother). |
 |
Next, using the string you have (it is best they are the both the same/similar lengths) push both bits of string through your two holes and tie a hole (as shown) in the end to stop it pulling out. |
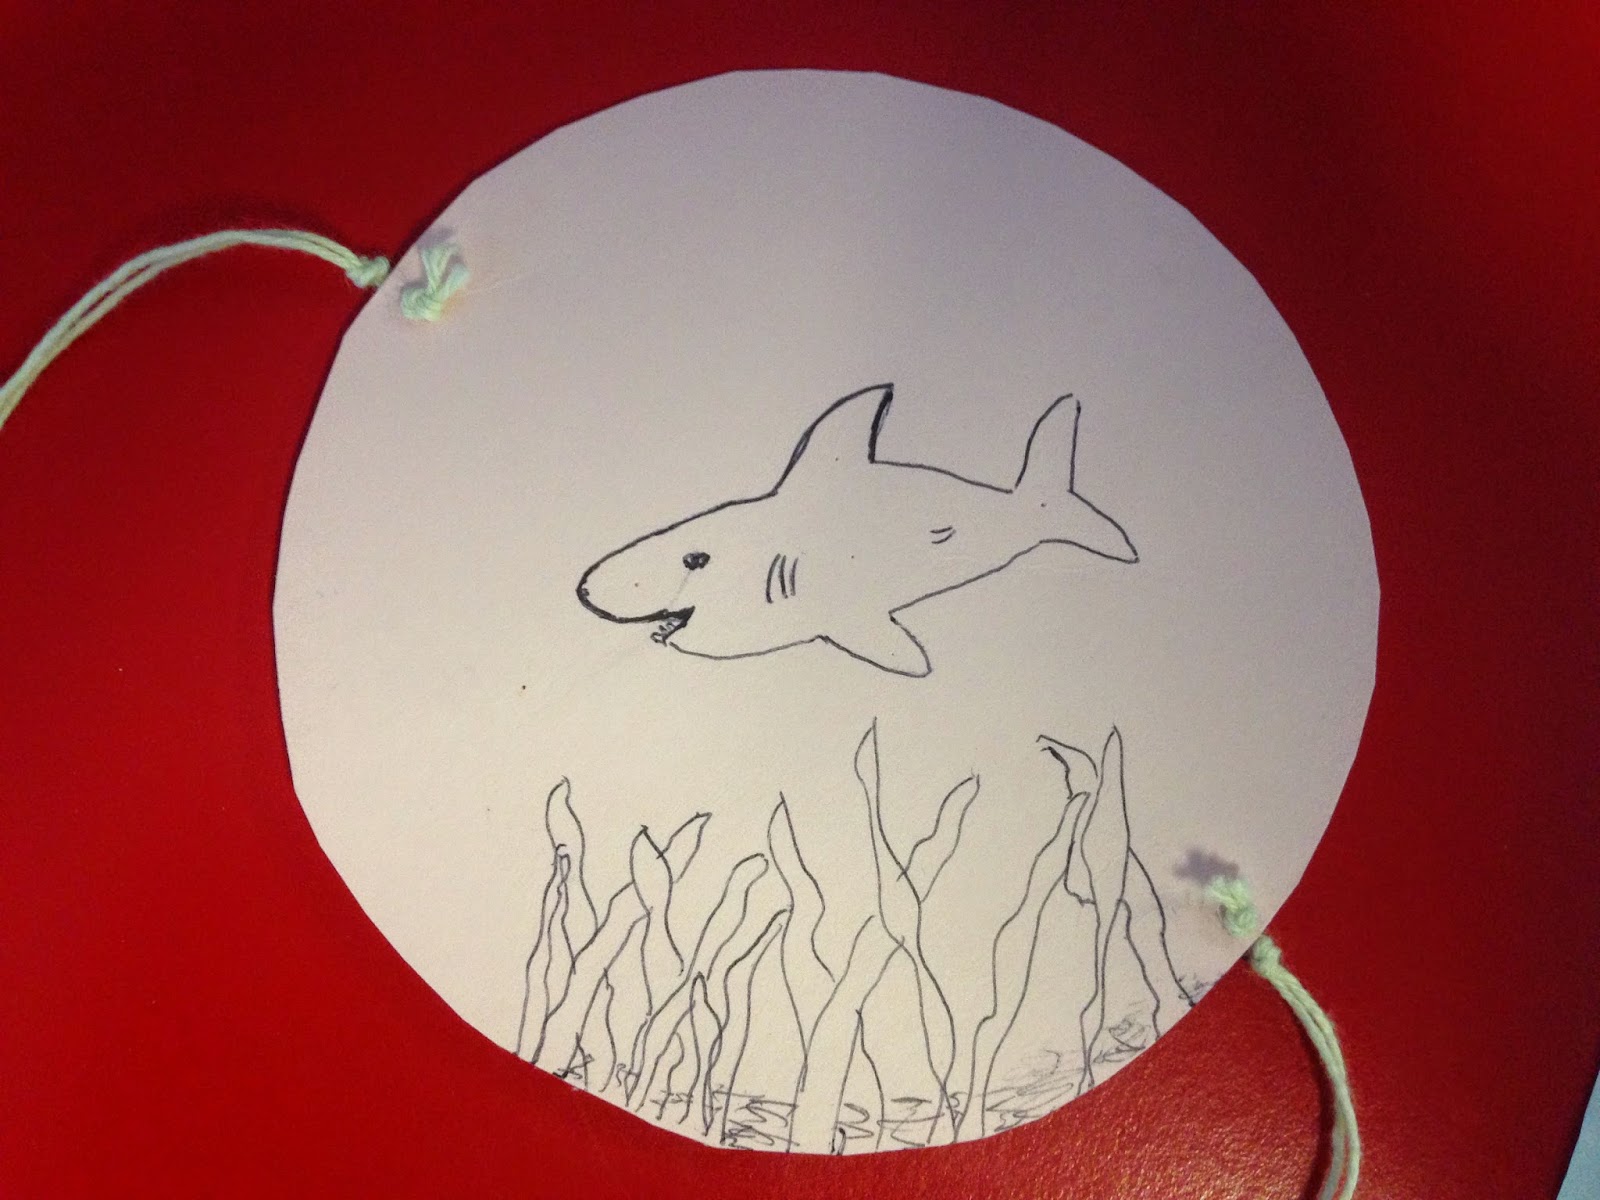 |
Now your Thaumatrope is successfully completed it is time to create your animation. Remember these two images need to be slightly different to show a change between the two pictures. |
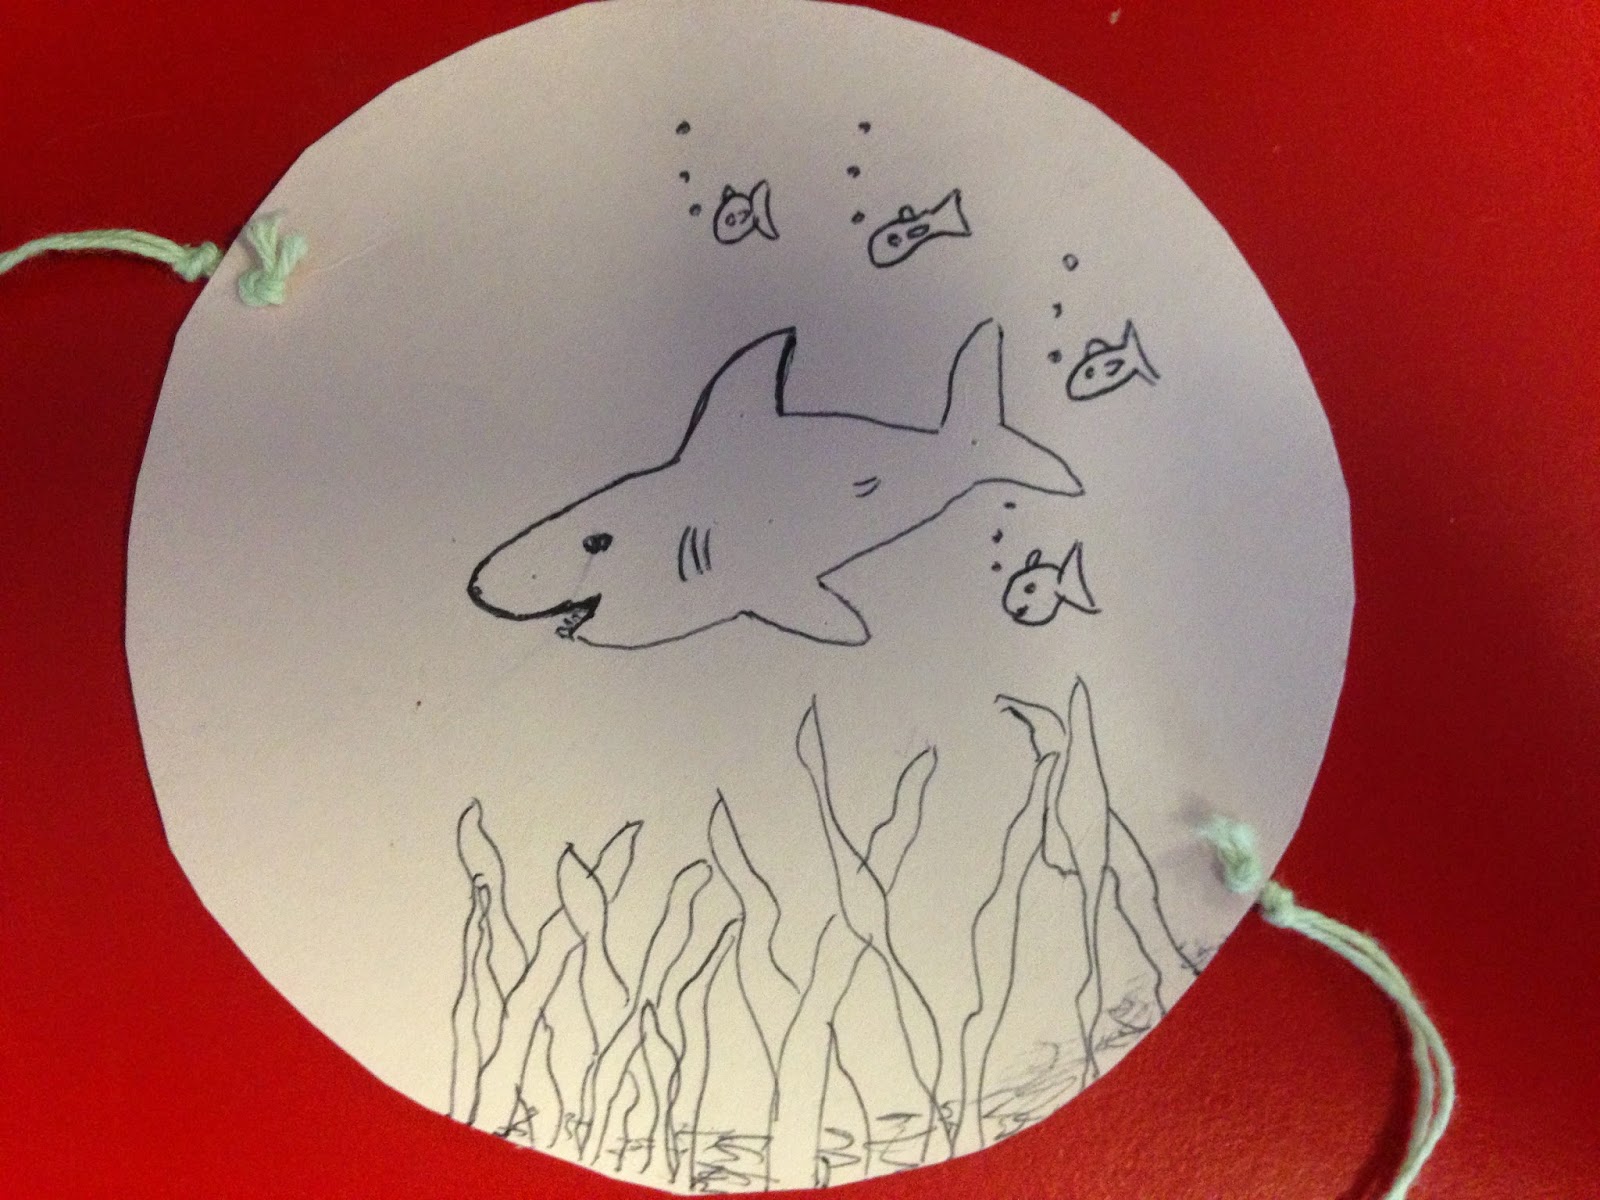
The idea of this Thaumatrope, as you can see by my step by step
pictures, is that you have a circular piece of paper, card or other material
and create on one side a simple creative picture. On the other side you will
have to create another simple creative picture, normally the same picture but
show a movement or change. You will then need to pierce small holes in either
side of the circle, insert string or an elastic band and then whilst holding
both sides of the bands or string spin round your circle and your image will
become animated!!
After successfully creating my Thaumatrope, we were all
placed into pairs and set a task to make a more complex camera-less animation.
We were set to make the Phenakistoscope. These are the steps in which we went
through to make our Phenakistoscope:
Step 1...
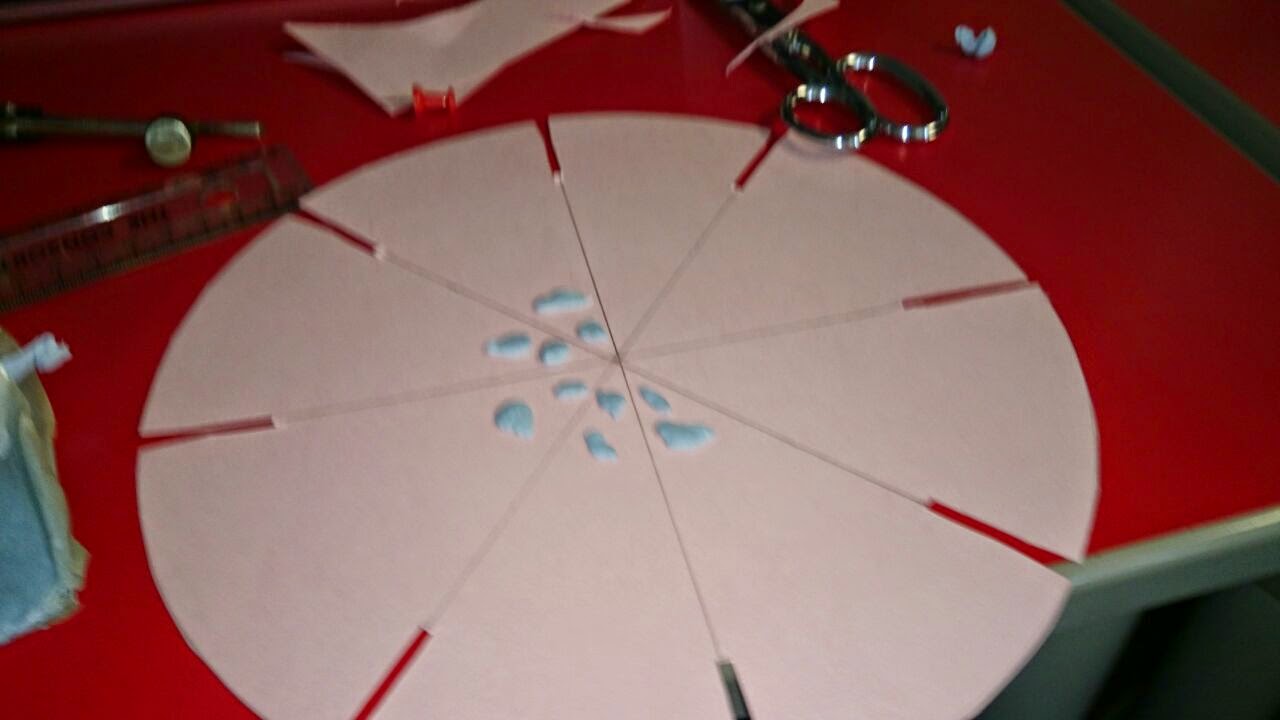 |
| Again you will need to collect the same equipment as you needed for your Thaumatrope, except you will also need a ruler and bluetack or something similar. Firstly you will need to create a circular shape double the size of the one you needed for your thaumatrope. Split it into equal segments as shown above (the amount of segments depends upon how many animations you want to create). Then cut evenly sized 1 inch wide by 3 inch long slits in the end of each segment. |
Step 2...
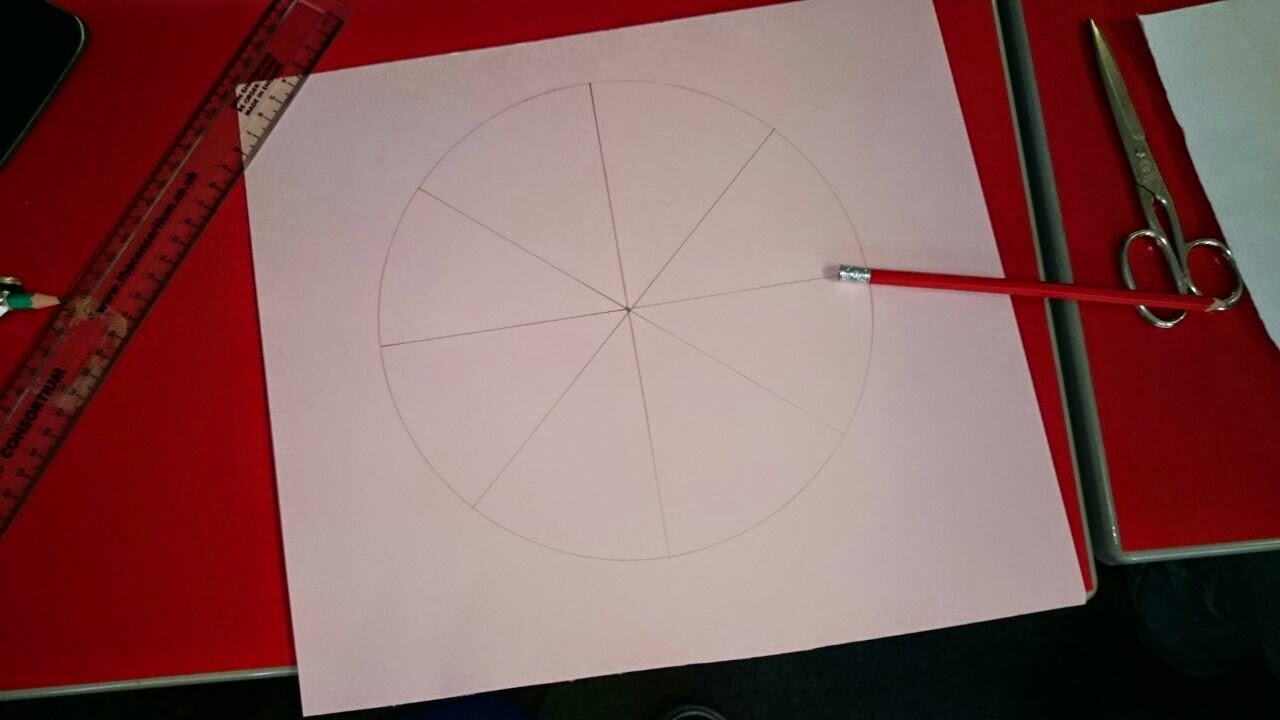 |
| Next you will need to create a smaller size circle, approximately half the size of the first one you have just created. Likewise you will need to split it into segments identical to the first circle. This will be the circle you will create your animation upon. |
Step 3...
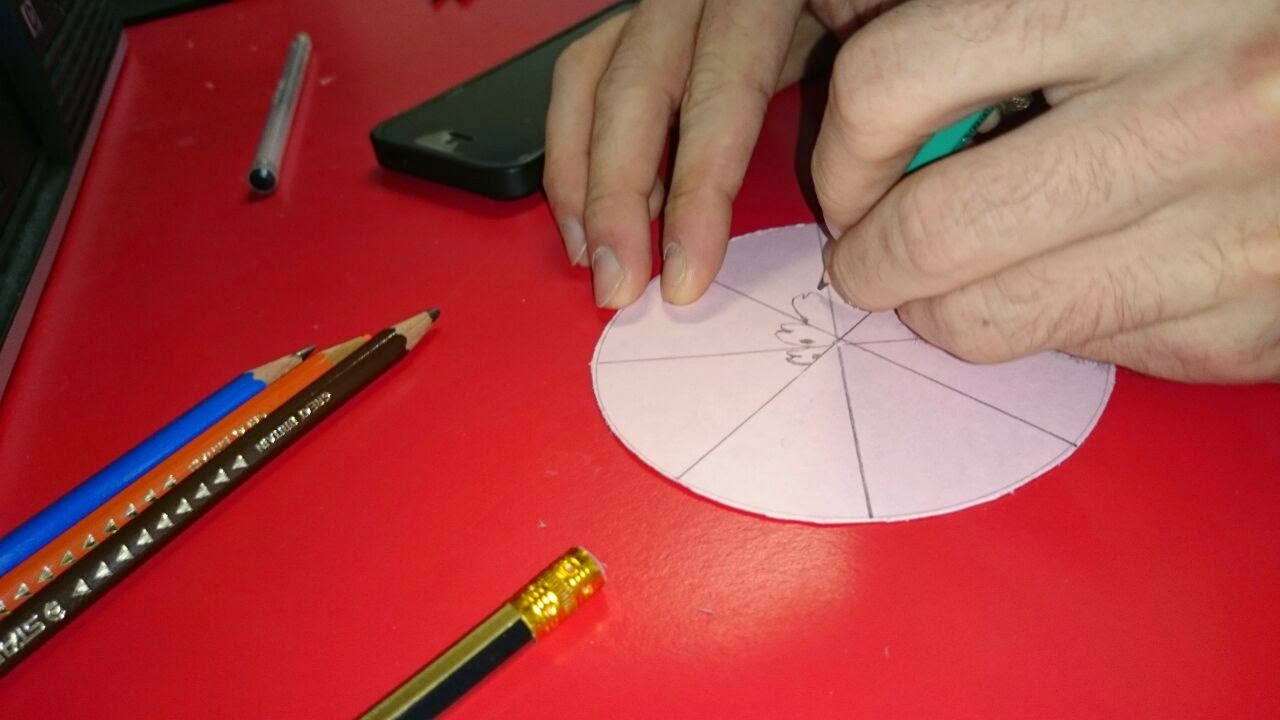 |
| So now it is time to create your animation! You will need to draw one animation that you intend to keep. This animation should then change/move slightly from each segment. The less movement between each segment the better, as it will make the animation much smoother (However not enough and it won't appear to really move). |
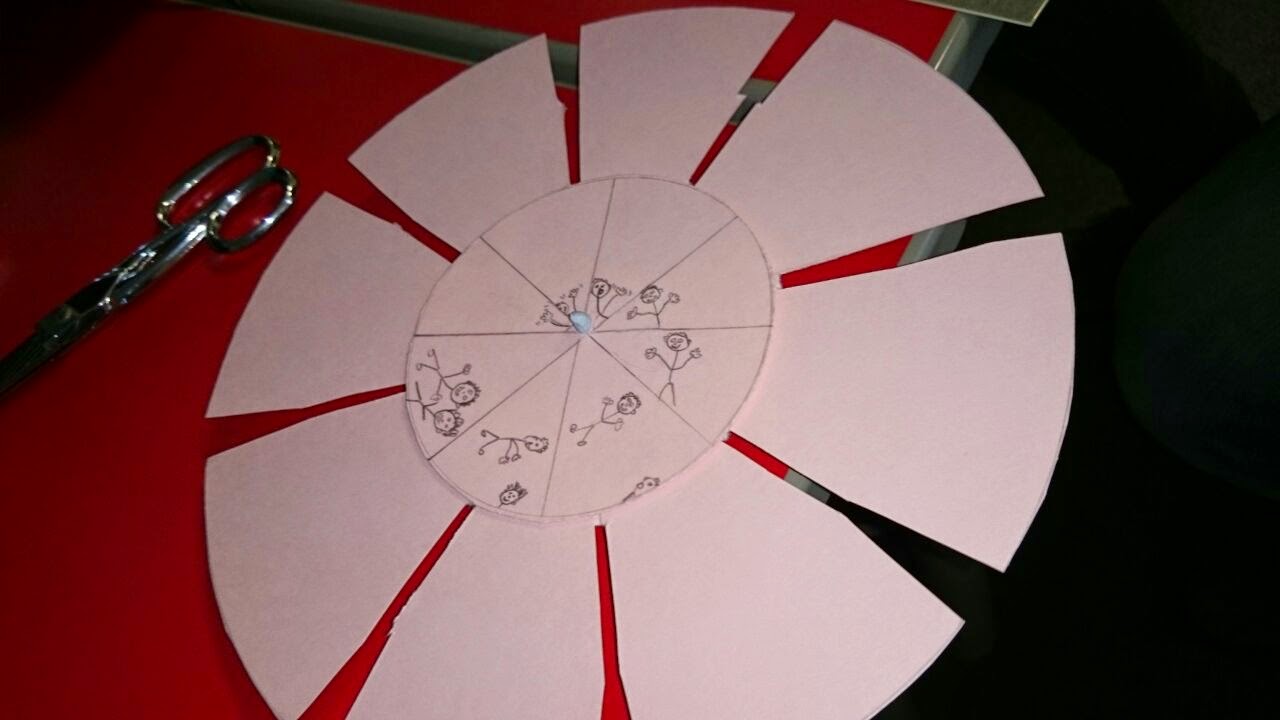 |
| Once you have created your animation circle, you will need to (using your bluetack) stick it onto your circle you have created with the slits in (make sure the middle of both the circles are in line with eachother, as shown above). Next you will then need to push your thumbtack through the middle of both circles. |
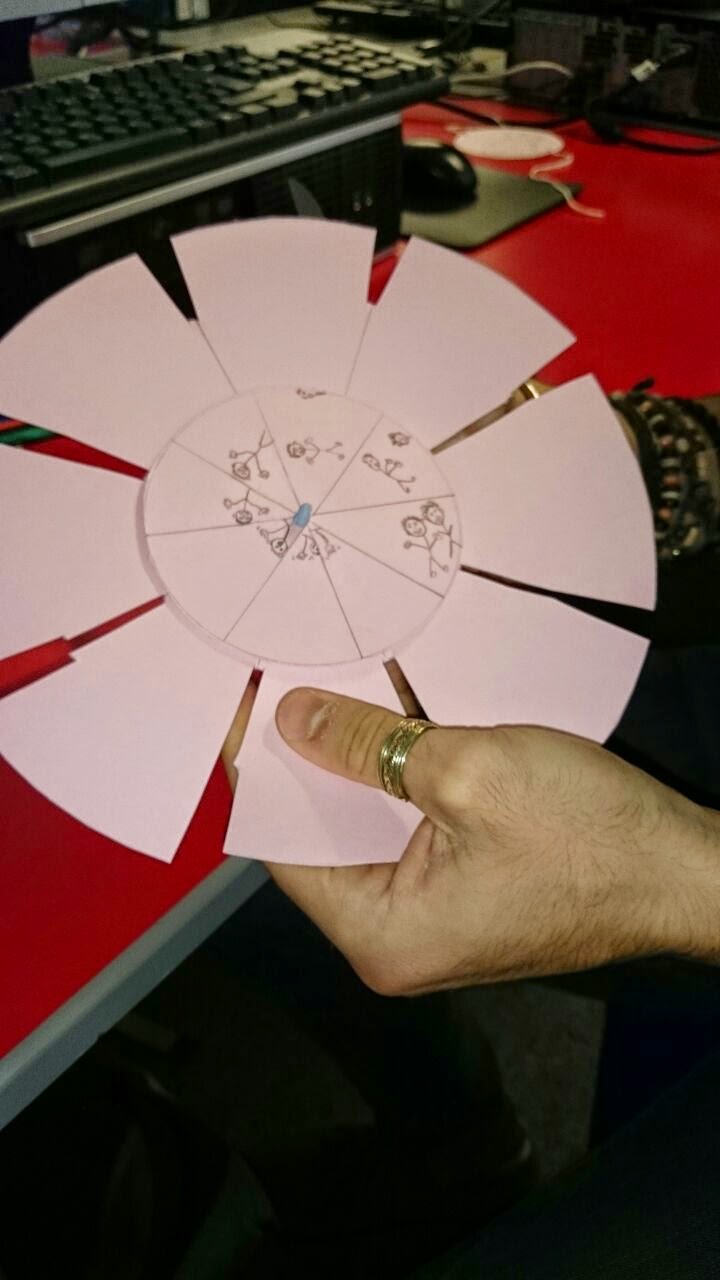 | |||
| The idea of this animation method is that you will hold it up in front of a mirror, look through the slits from behind (so the animation is facing the mirror), and spin the Phenakistoscope around by just holding the thumbtack. You need to make sure the thumbtack is not fixed in and lose enough to spin around. Then you'll need to (as shown above) place a small piece of blue tack ontop of the sharp end of the thumbtack. This will mean the thumbtack won't fall out, but also eliminates any chance of hurting yourself too! As you can see by our step to step pictures it is the same concept as the Thaumatrope, except there are many more images providing a longer but more fluid animation. Although this method would need a lot of tweaking and perfecting as we found it was hard to view the animation through the slits (This is the reason why we made our slits slightly larger in the later pictures).
These methods are much easier to do than the other camera requiring
methods. Firstly because the equipment required is much easier and cheaper to use, and secondly they
take a lot less time to create but still encourage the same development of
creativity and use of imagination, and are just as fun! I believe these methods
would work really as an activity for schools.
So there you have it! Two types of Camera-less animation. Try them
yourself, or investigate some other types and try them like for example, the
flipbook. I’m sure you'll be surprised how affective/fun they can be.
|